A simple customization to add your own D.I.Y "Buckethead Gibson arcade-style" kill switch to your guitar
Do you want to add custom Kill Switches to your electric guitar similar to Buckethead's signature Les Paul Guitar.
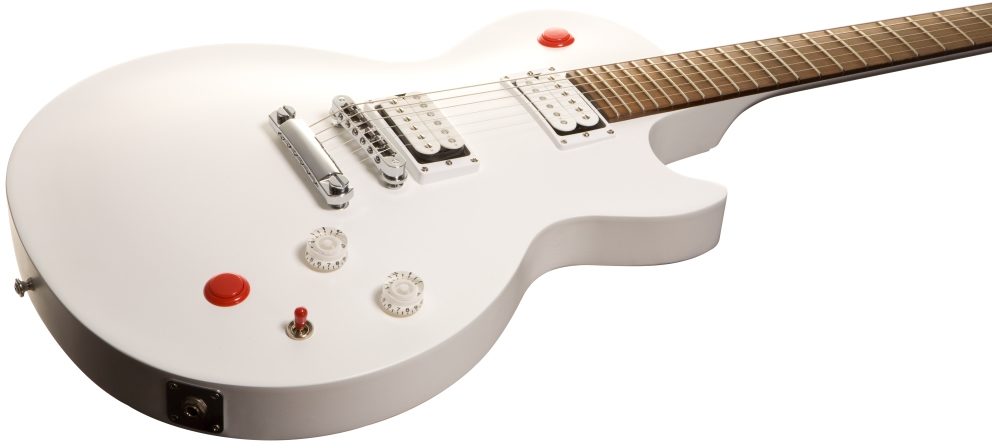
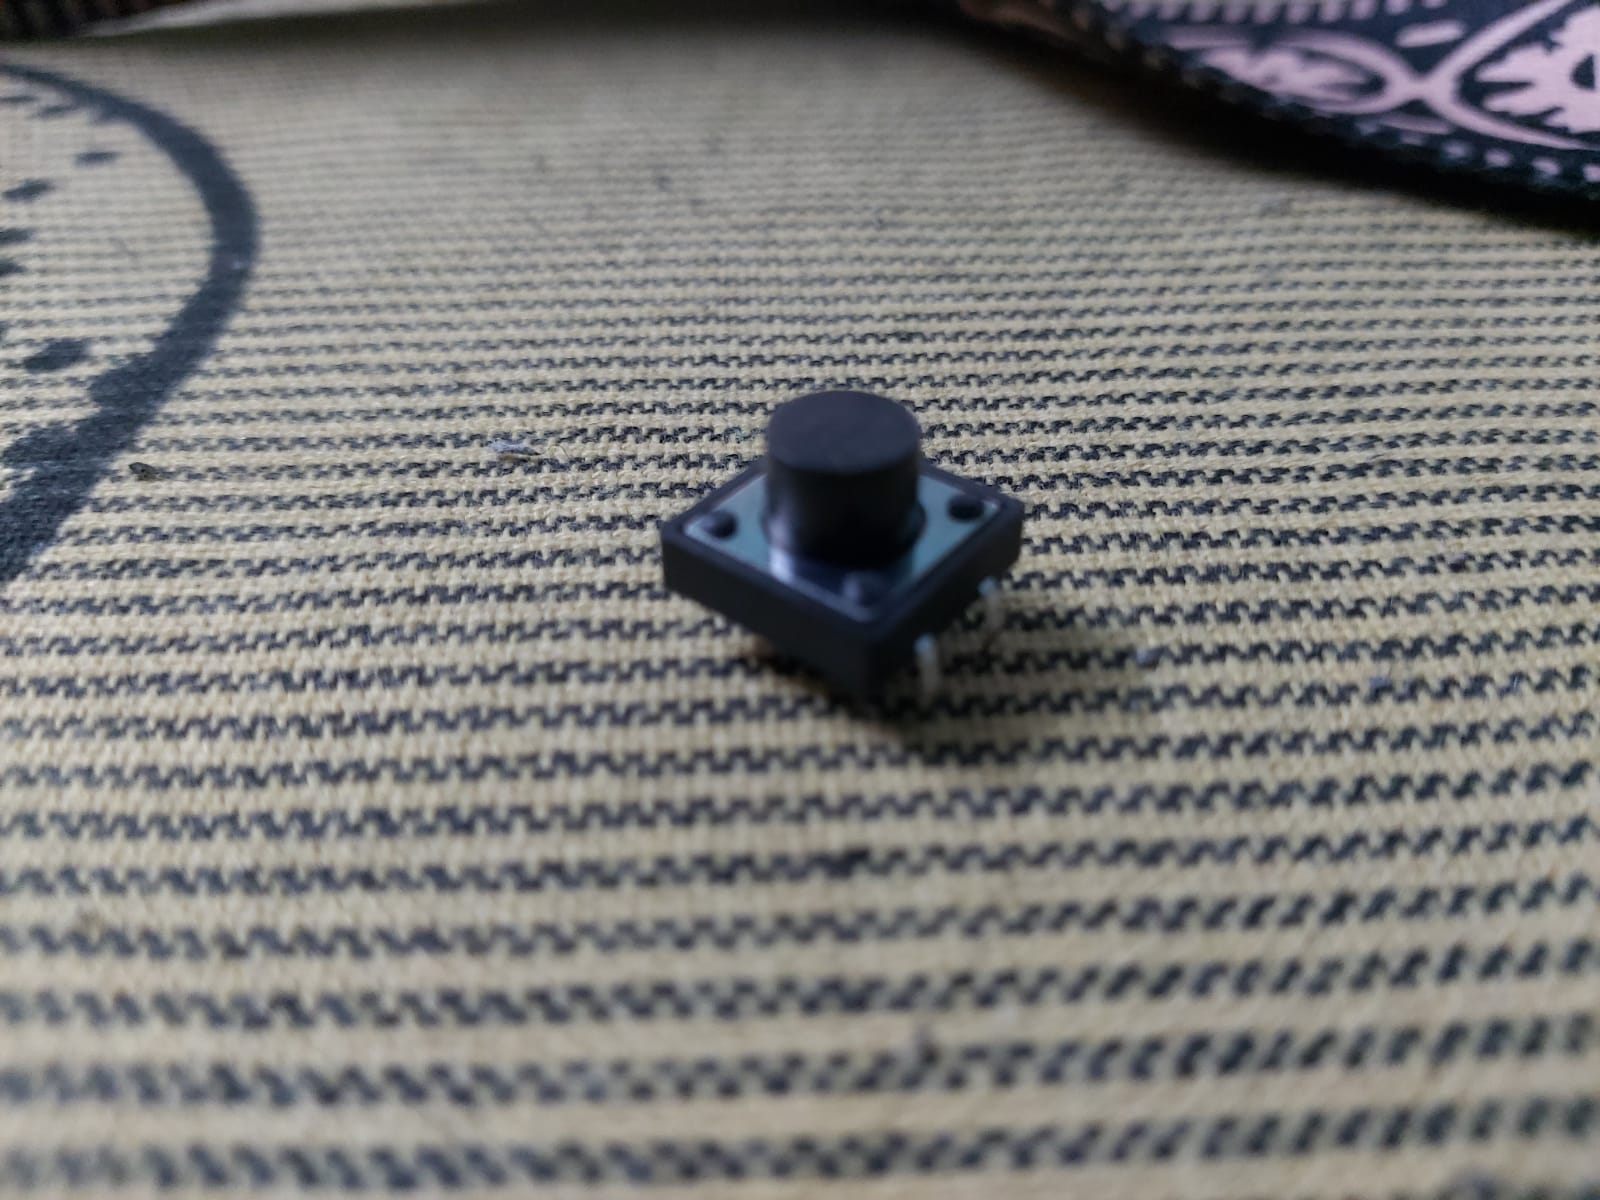
Add a custom momentary push button to your electric guitar like Buckethead signature guitar.
Are you looking to add variation to your guitar playing by adding a custom DIY kill switch to your electric guitar ? This simple beginner friendly guide will help you upgrade your Guitar. This guide is applicable to any electric guitar but a Distortion pedal and a Wah pedal is recommended for effective sound.

Pre Requisites
Basic soldering skill is recommended to follow along. You can find effective resources online and can learn it within a day.
Required tools
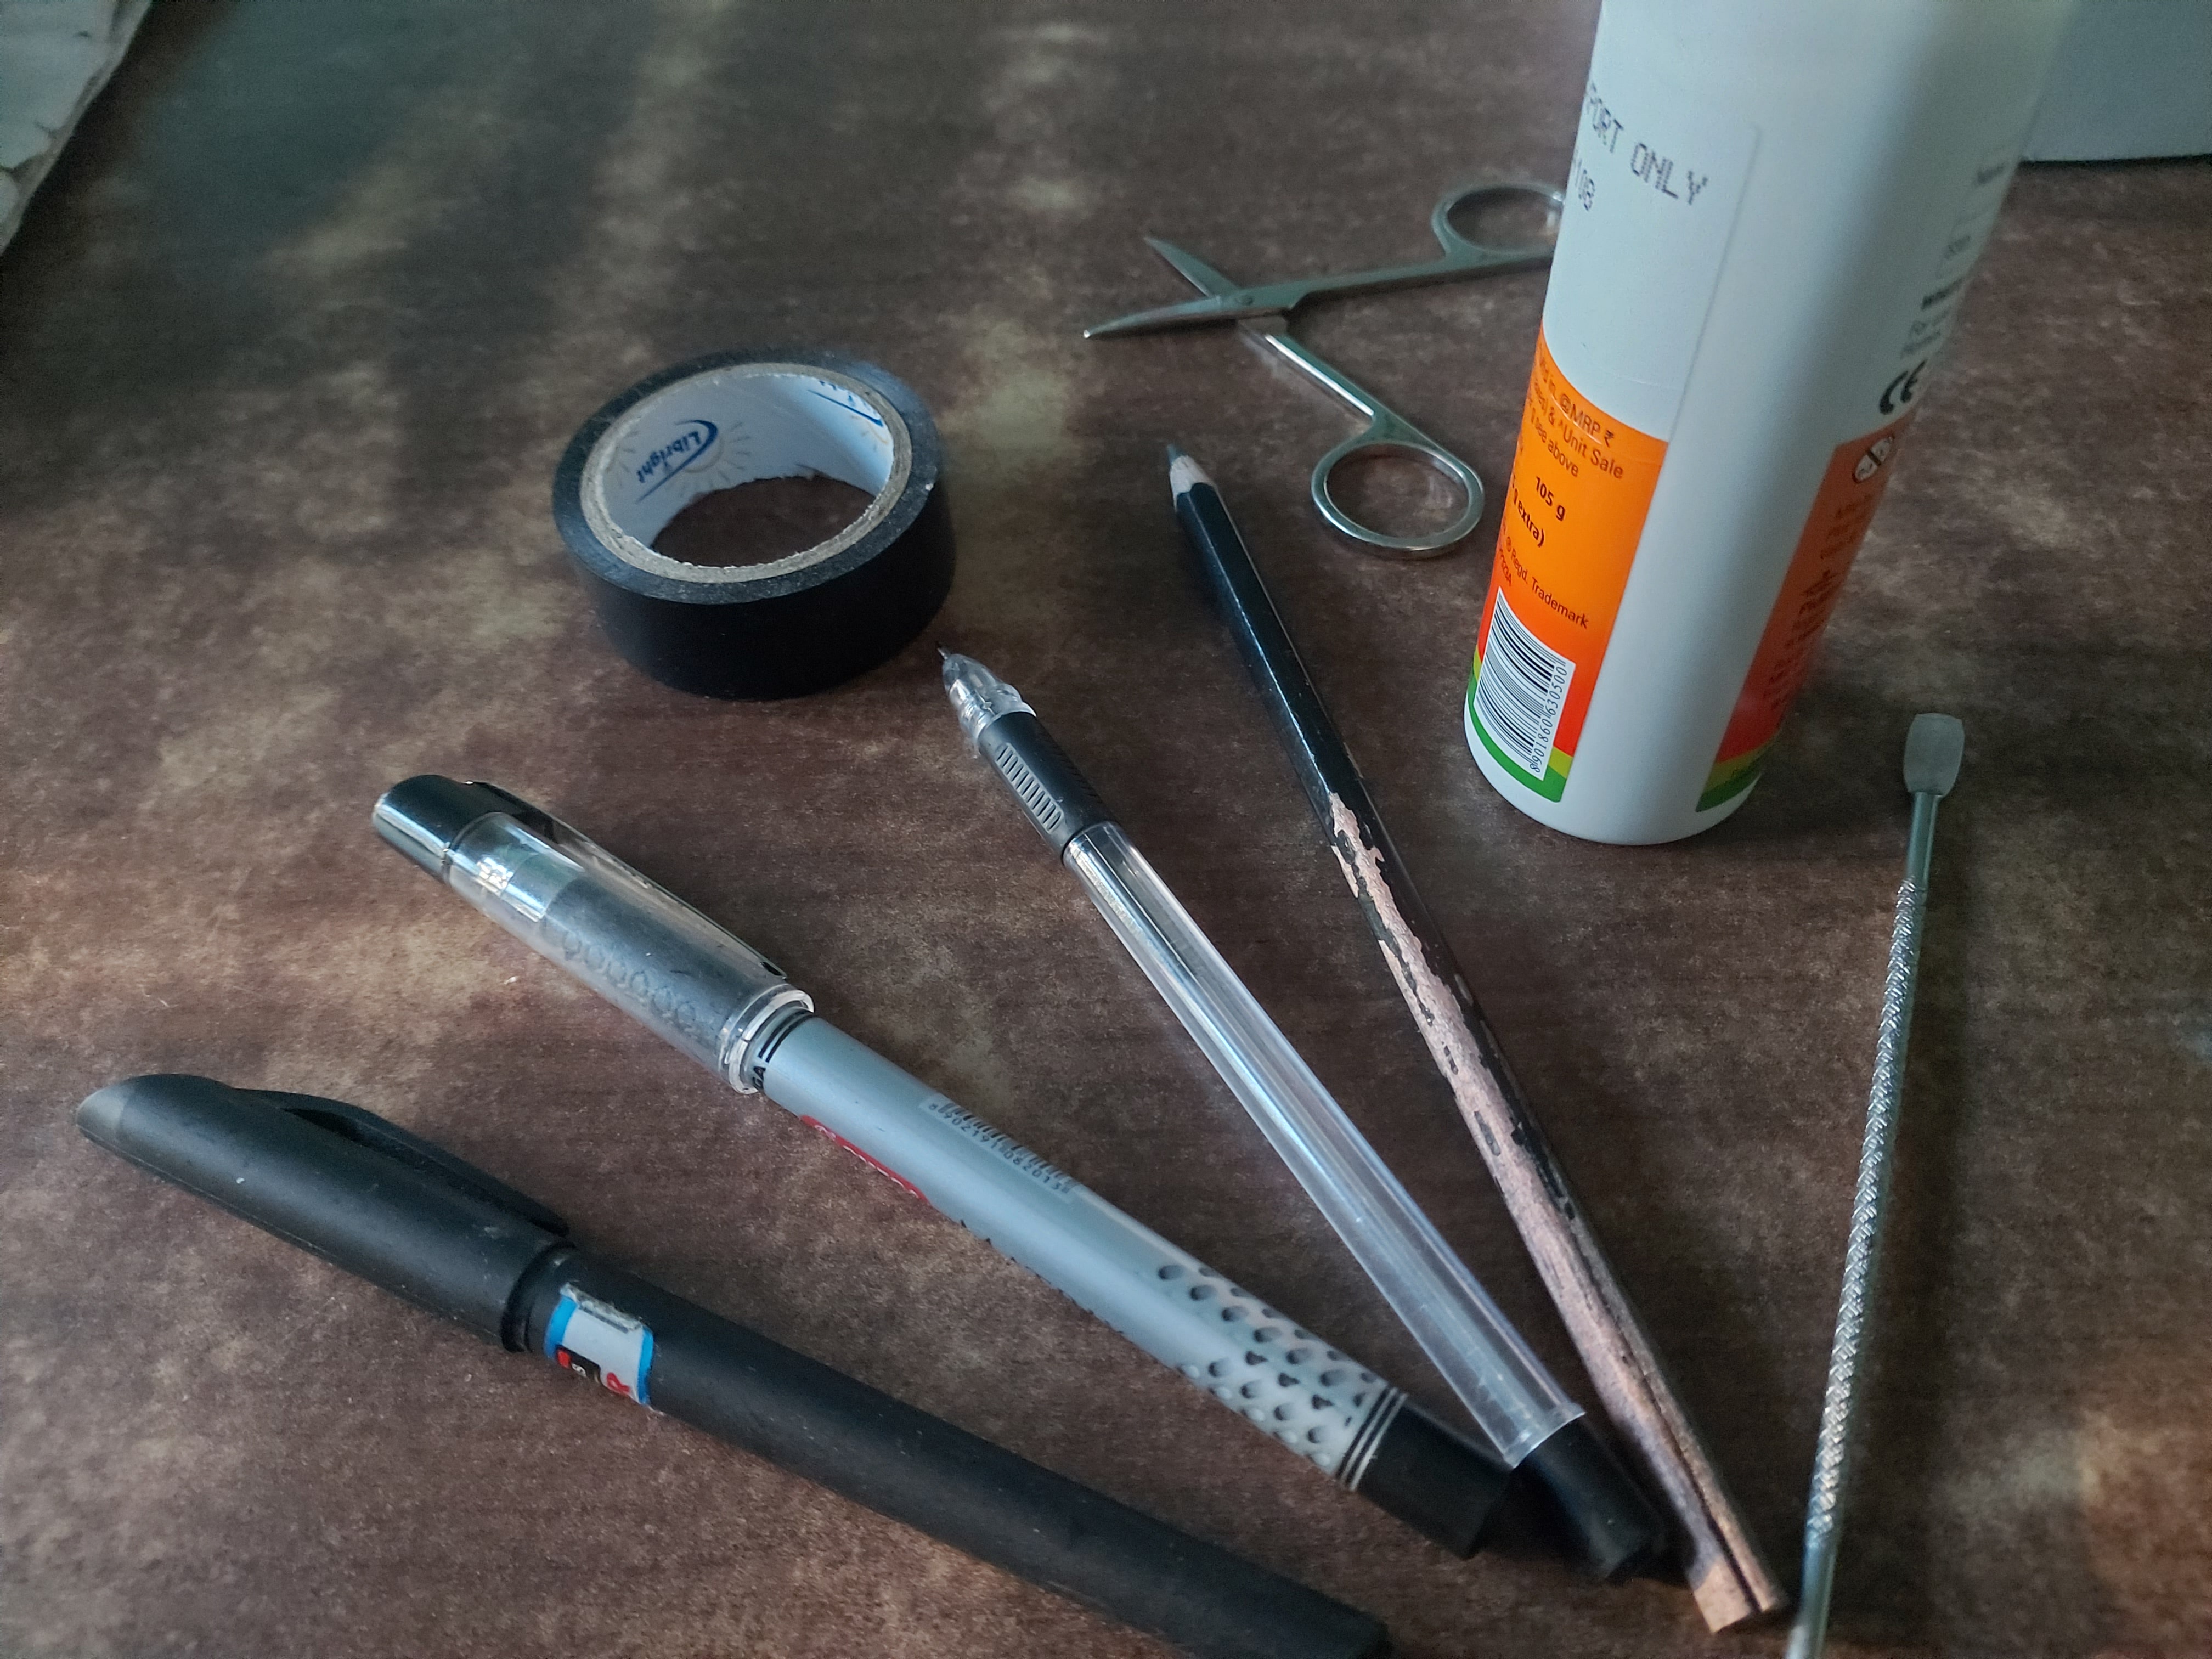
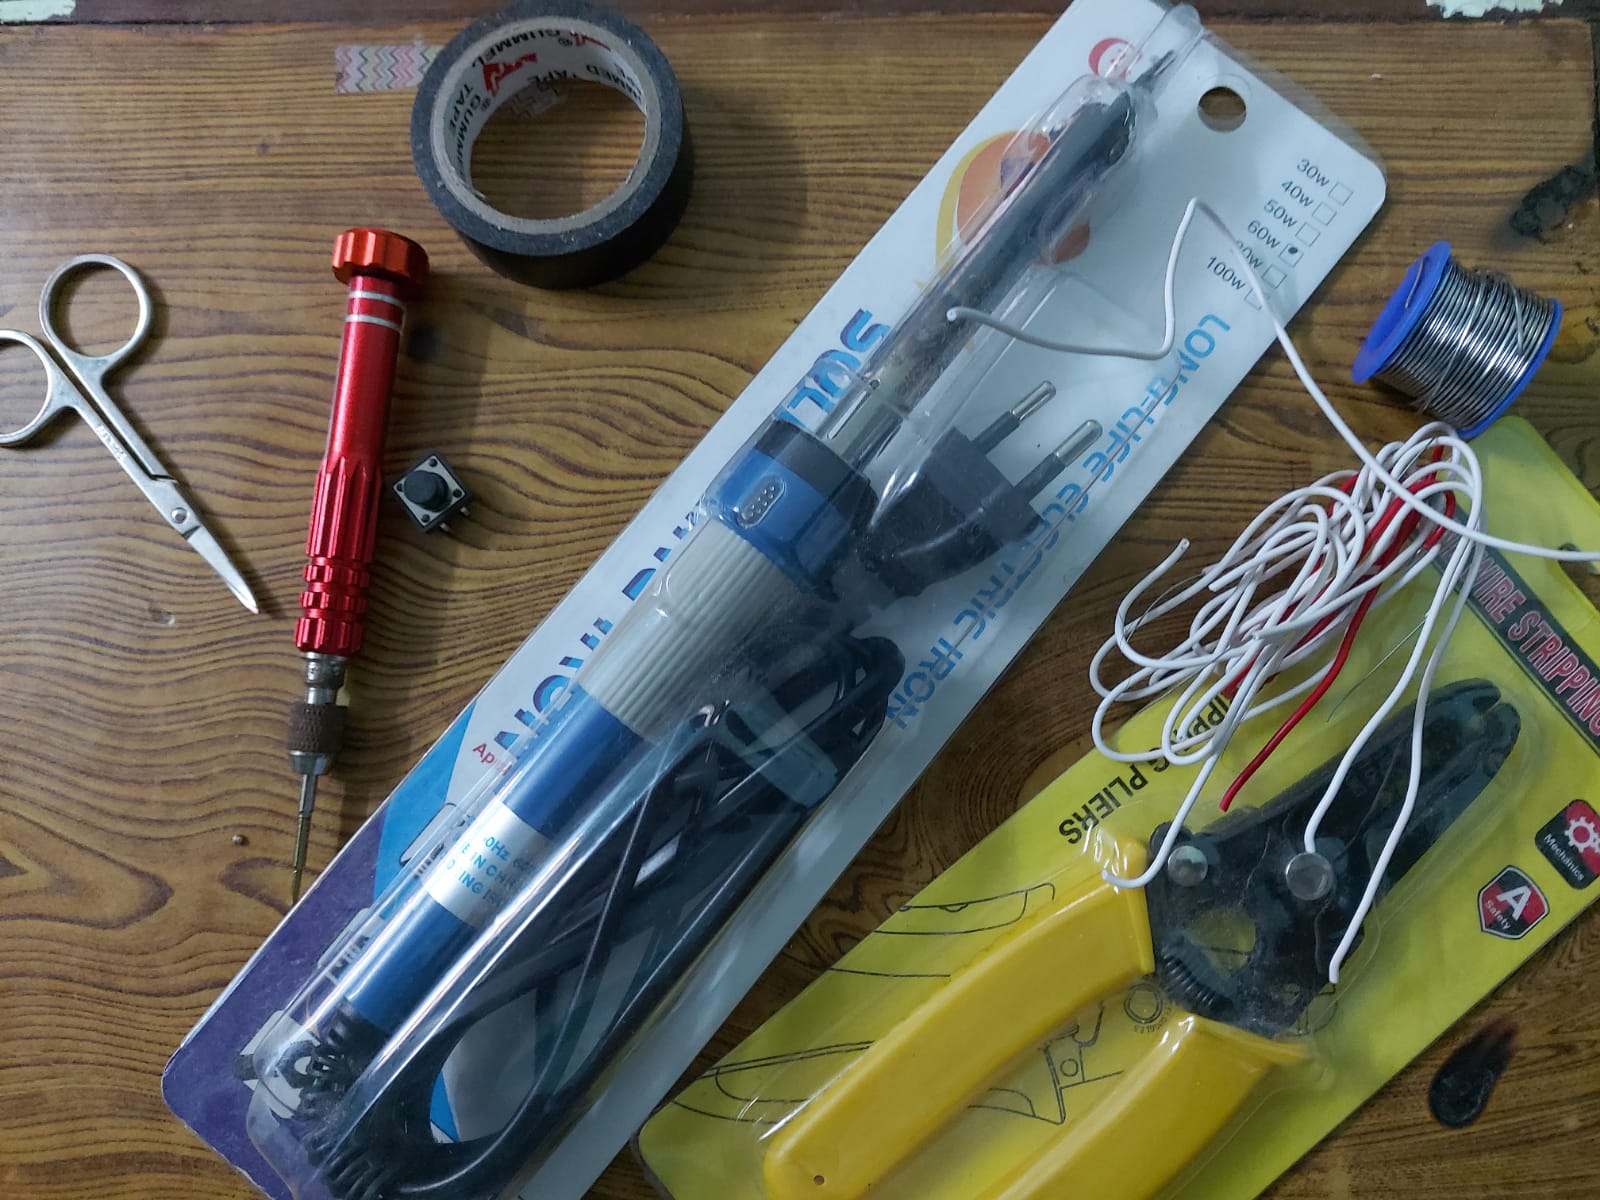
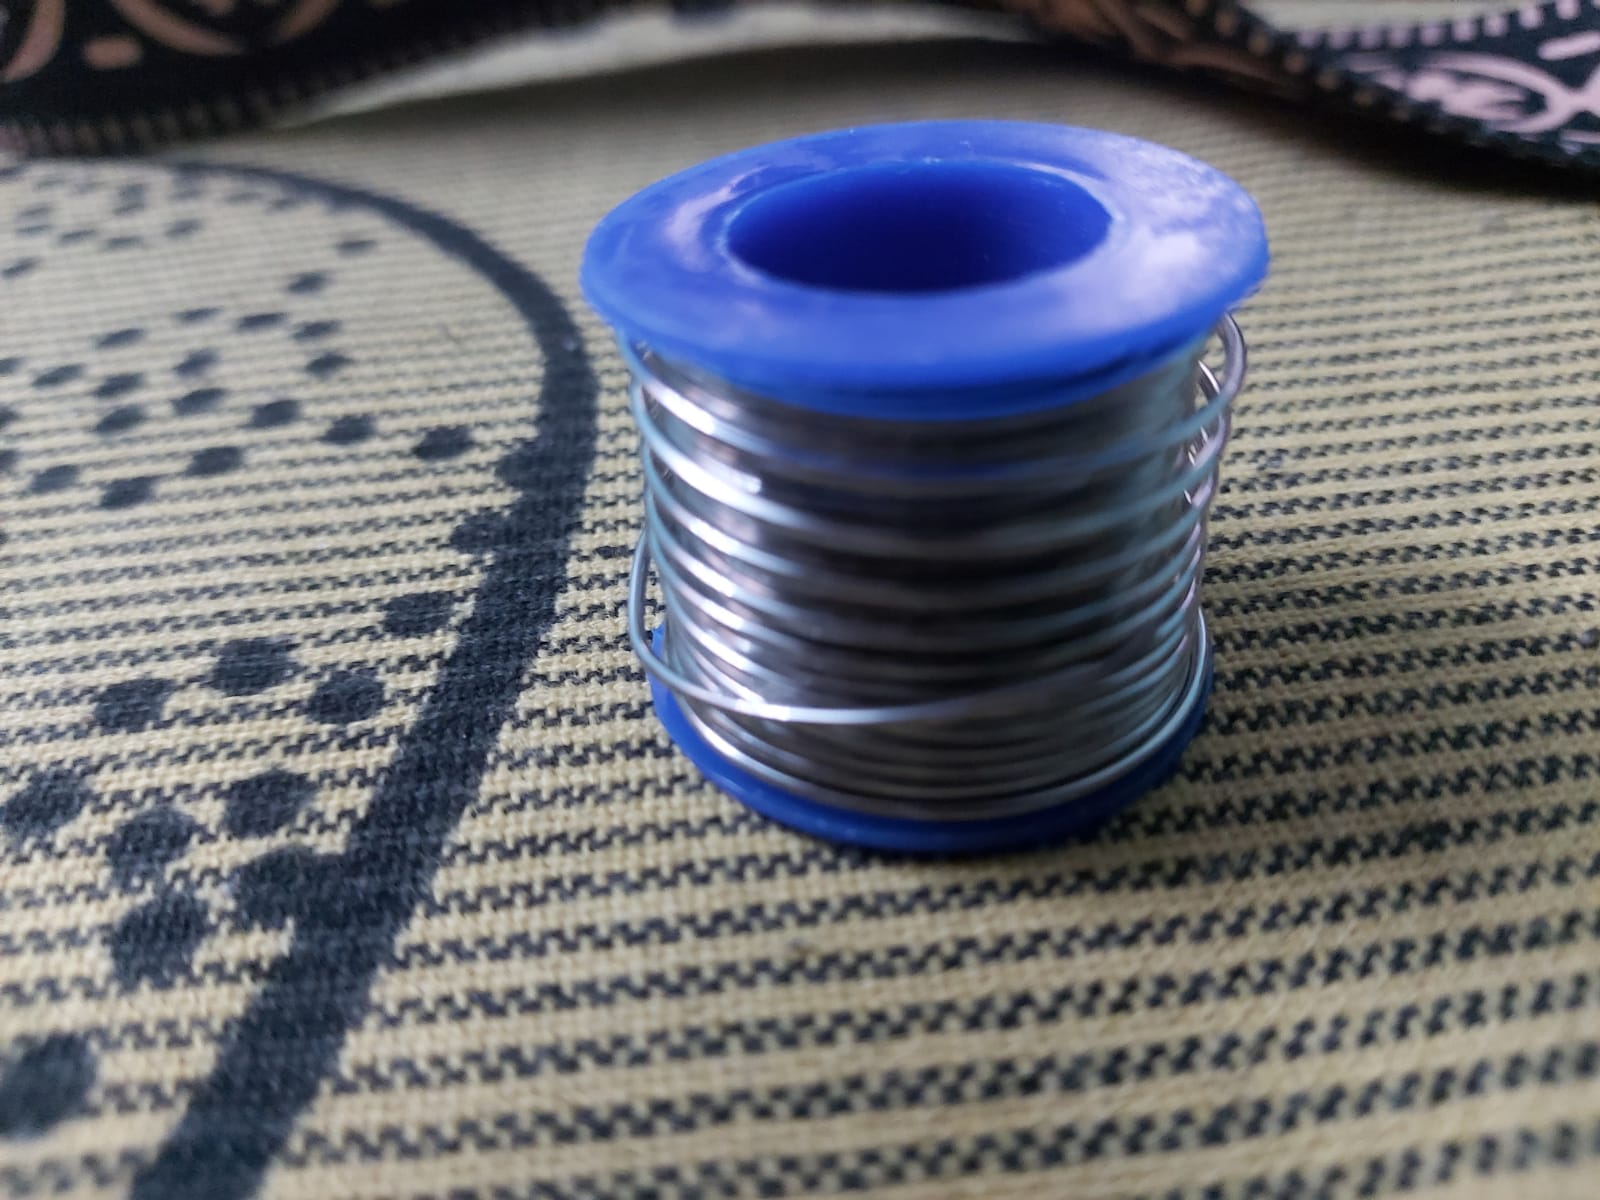
A pair of wire clippers, screw driver, duct tape, a decent soldering iron, a basic soldering flux, pair of scissors, momentary push button, flash light, tweezers.
Instructions
We are going to separate this guide into sections.
Wiring momentary switch button
1. Prepare 5 pieces of copper wires each of 15 cm.
2. Strip the wire in both ends.
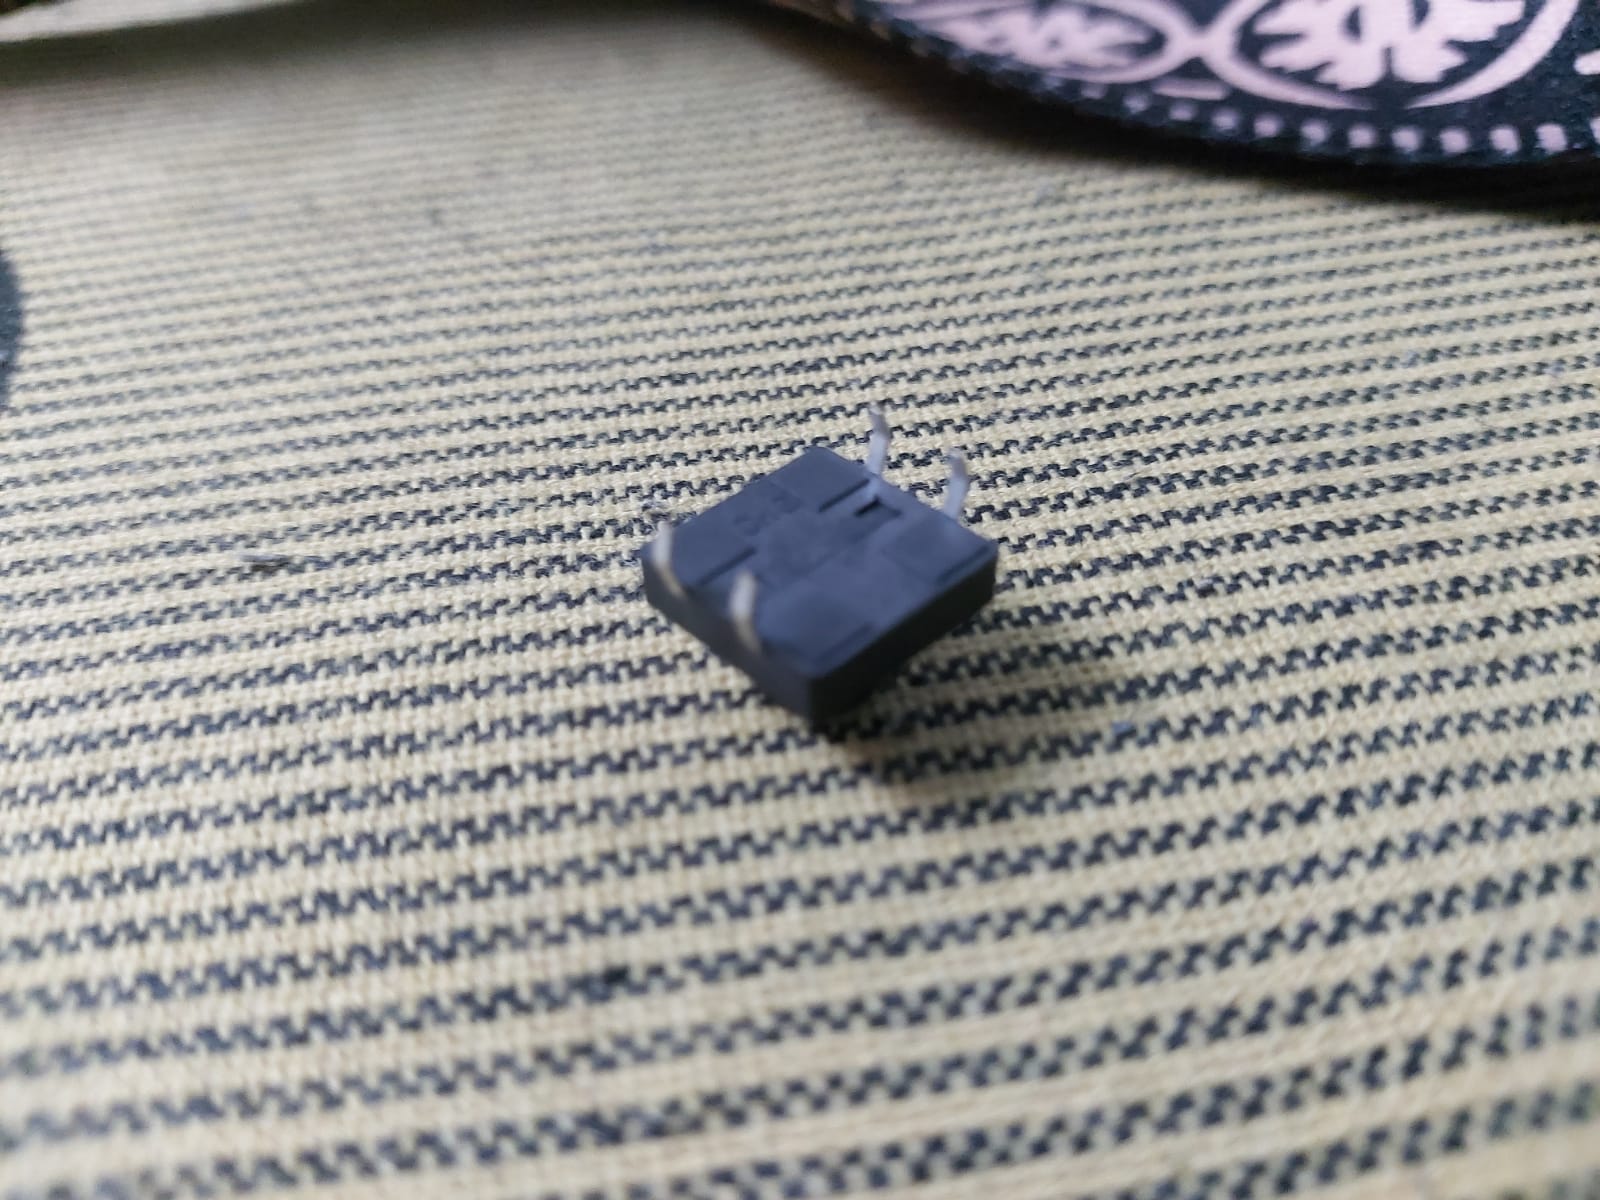
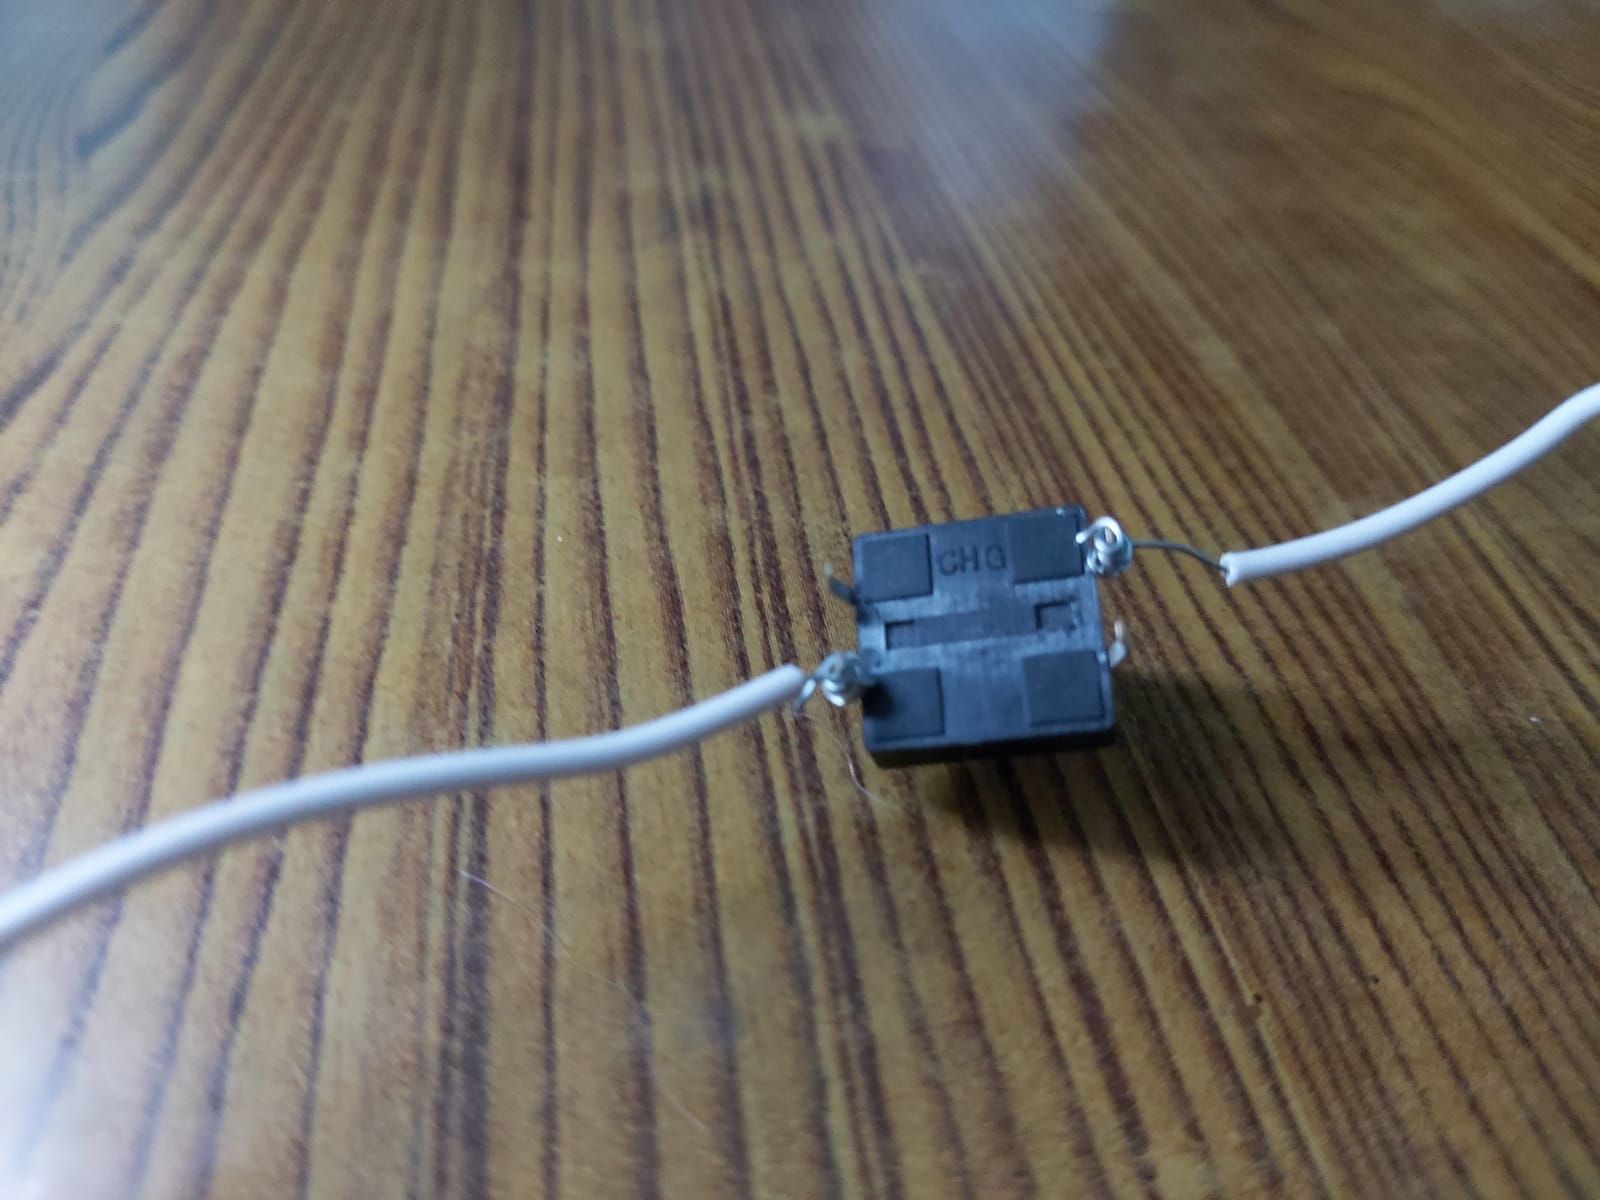
3. Wrap the wire in diagonal terminals of push button.
Solder the wire terminals to switch button (use soldering iron with caution, if you are under 16, adult supervision is advised)
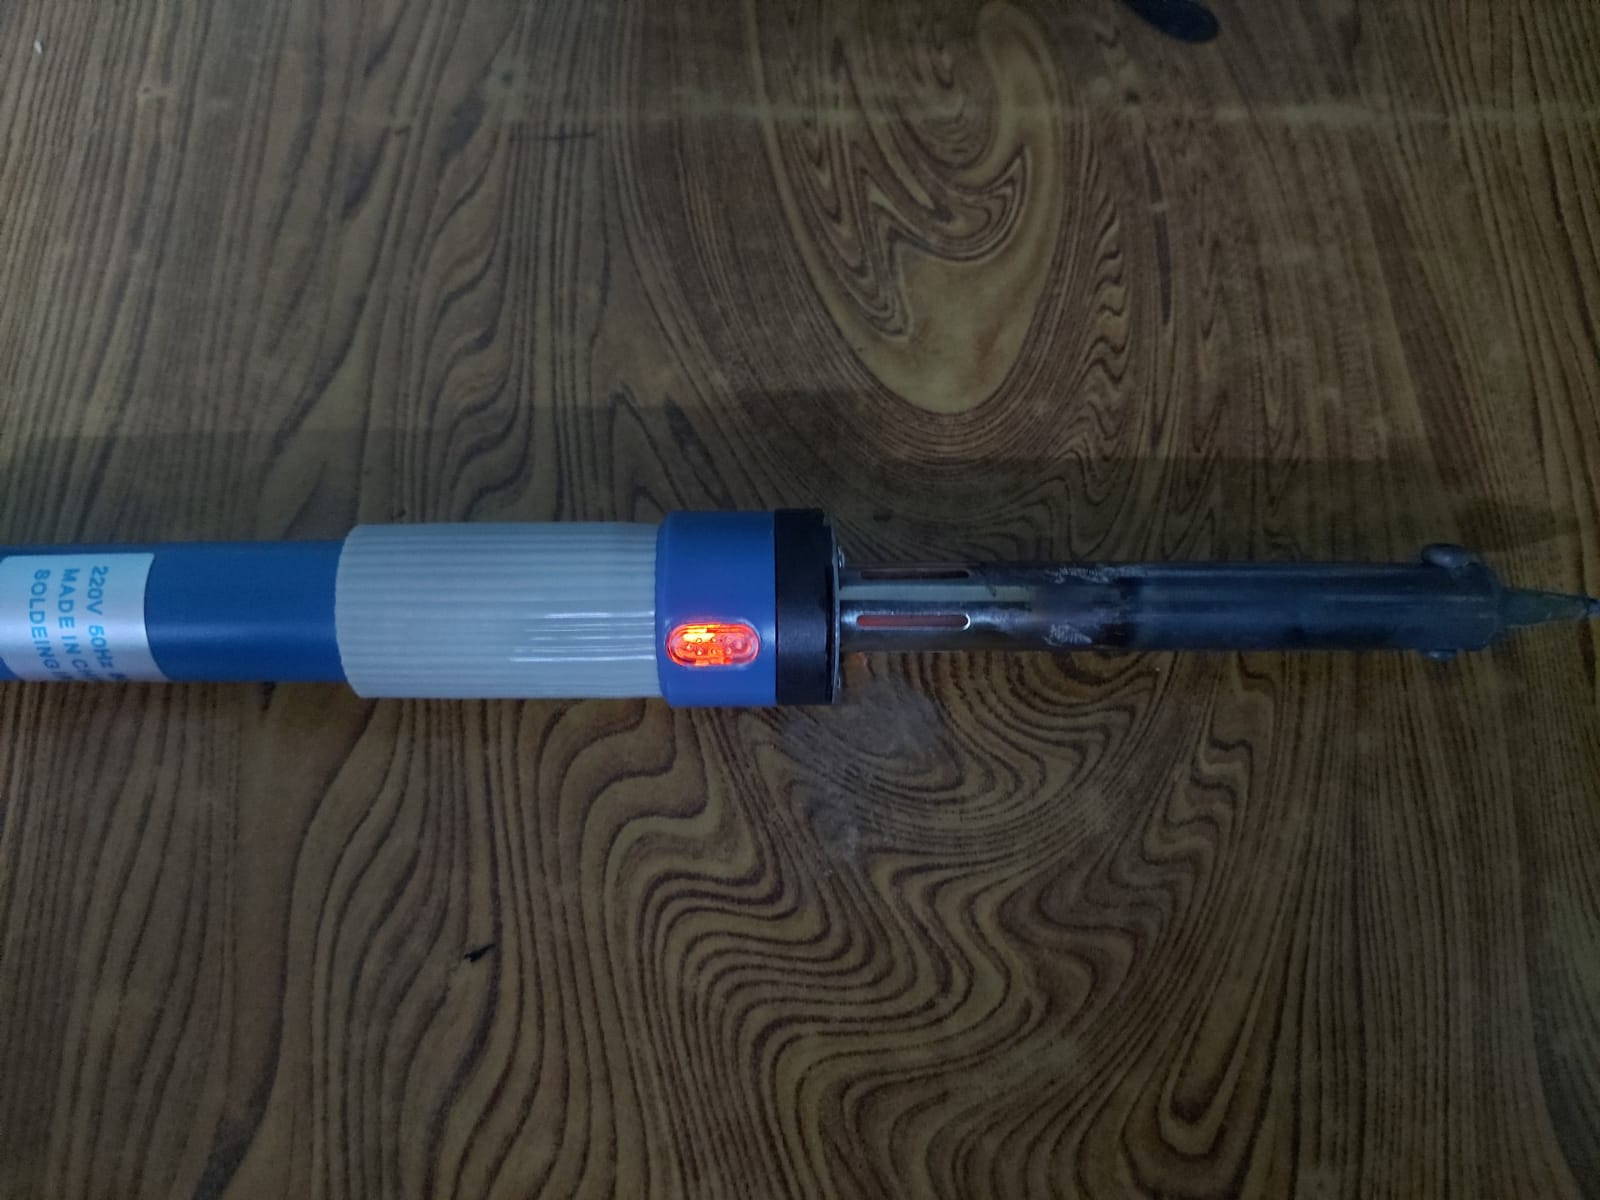
1. Heat the soldering iron for about 5 minutes.
2. Heat the junction between wire and switch button terminal for 25 seconds.
3. Touch solder to the junction for 10 seconds until it melts into the connection.
4. Wait until the solder dries approximately 15 to 20 seconds.
5. Repeat the process for opposite diagonal terminal.
After your switch is ready, we'll move on to installing it in your guitar.
Finding live wire terminal and ground wire terminal
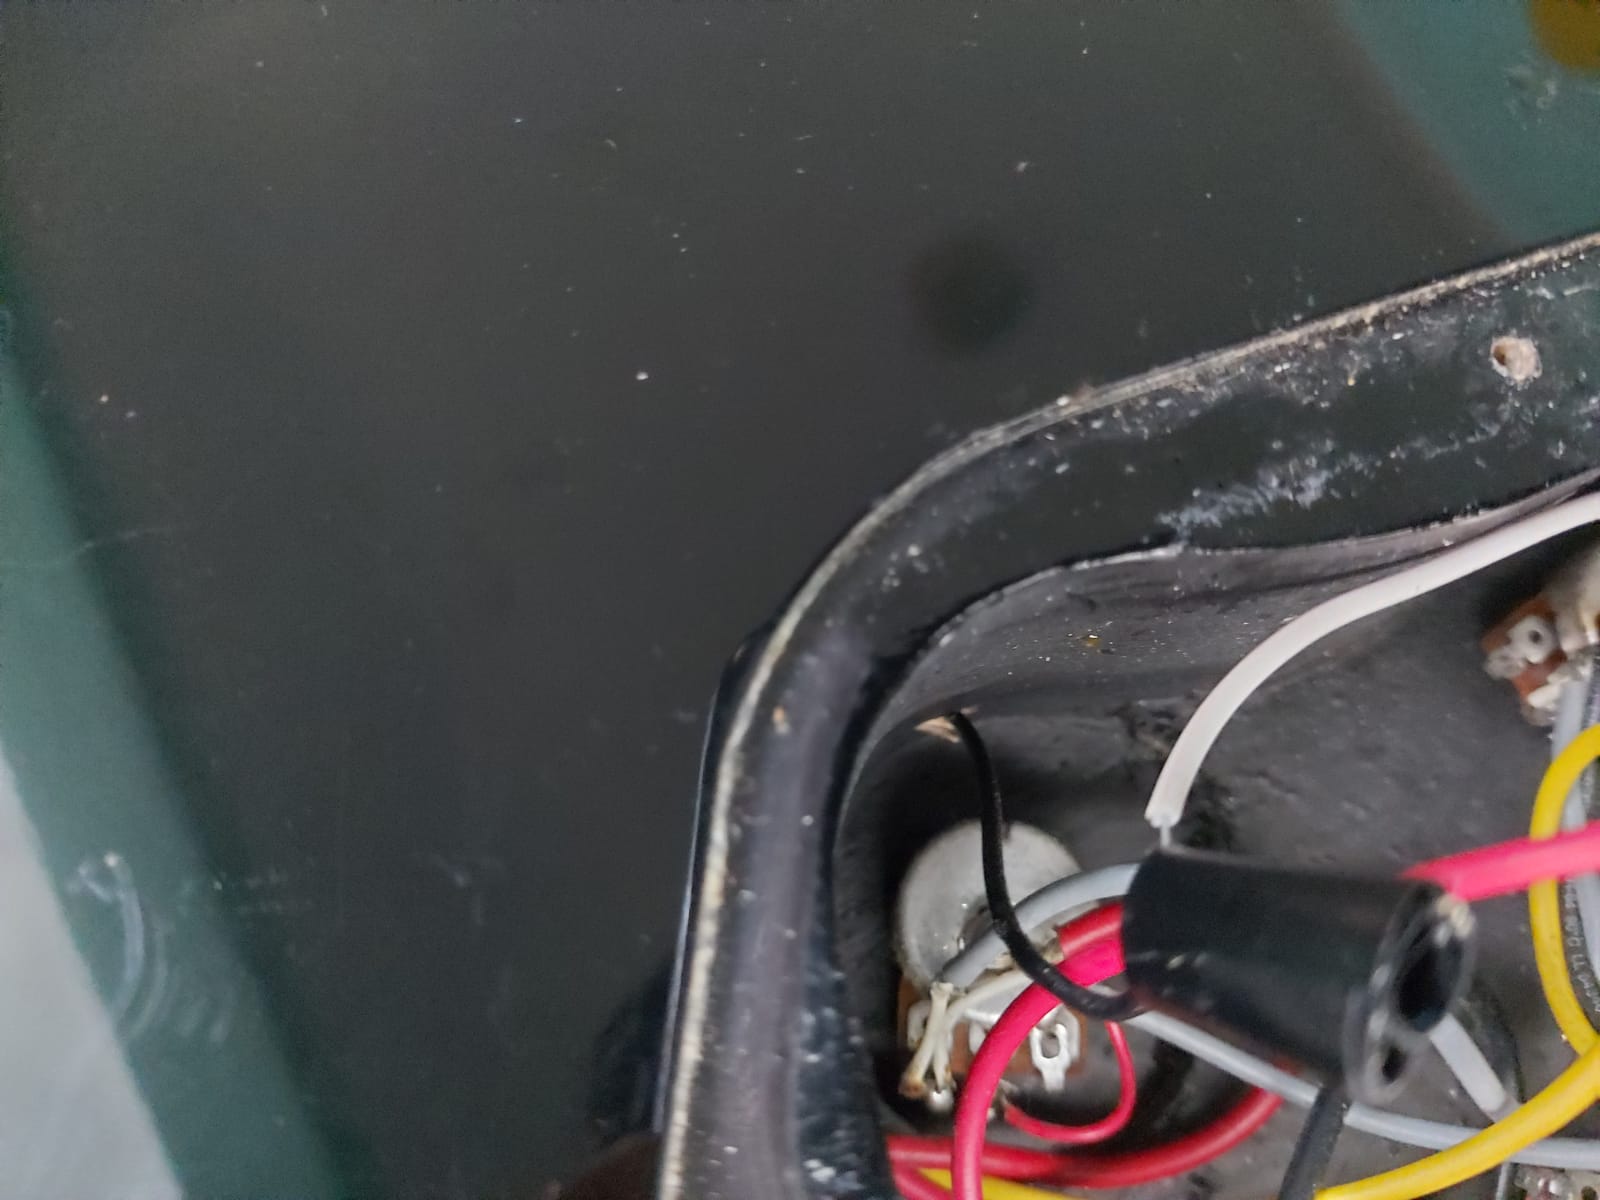
A Guitar signal starts at each pickup and terminates at ground terminal. End signal is received at live wire (usually yellow wire) which is soldered onto positive terminal of your output jack. This potential difference between this terminal with reference to ground terminal is essentially our Guitar signal. This signal is in few hundred mV range which needs to be amplified through an audio amplifier. What our kill switch does is, it provides an alternate path to ground terminal which is zero volt, cutting off our signal.
Now enough with technical detail, we just want to play.
Finding ground wire terminal and cut it in half
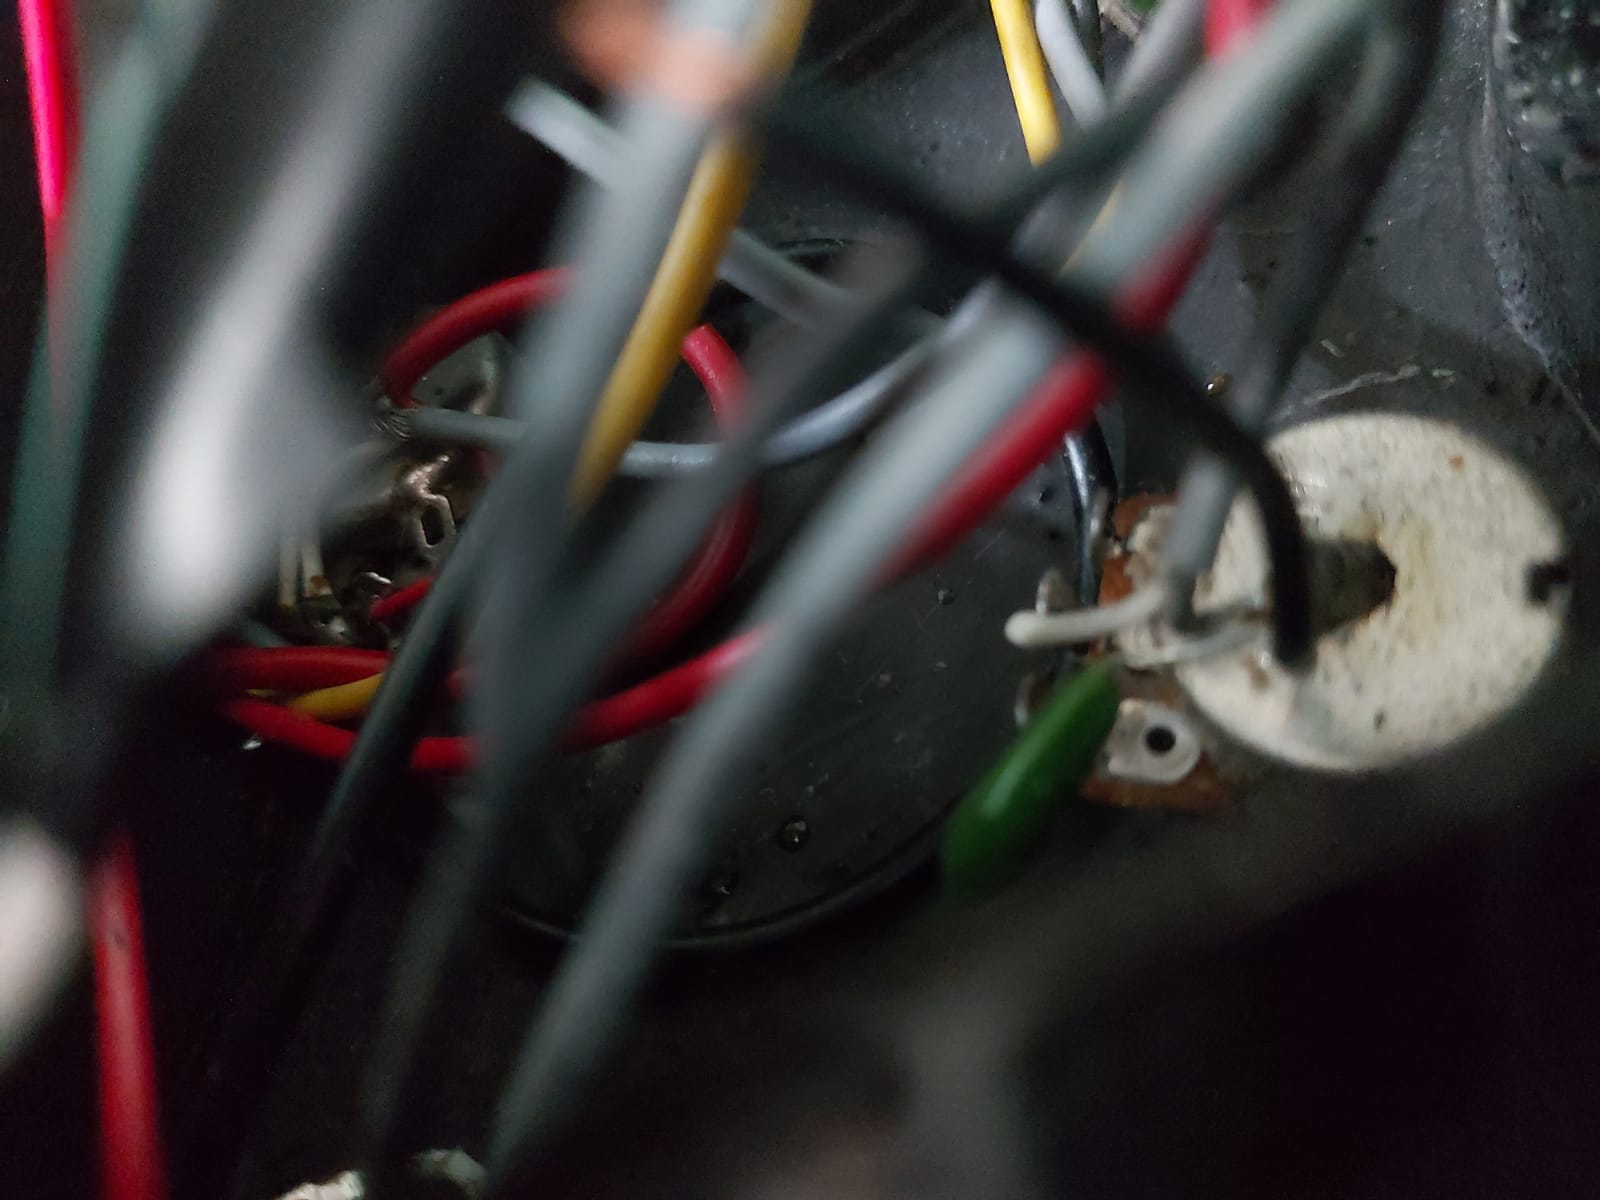
This ground wire terminal is connected to one of the tone potentiometer pot to terminate the signal. It is usually separate from other pick up wires. You may be overwhelmed by wires but you don't need to panic. Follow the black wire which is soldered in one of the tone pot.
1. Cut the black ground terminal wire in half.
2. Attach one end of your kill switch into one end of the broken wire.
3. Join the separated wires.
4. If you do it correctly, you should have third wire coming out of ground connection.
5. If the wire falls short you can connect 15 cm wire between the connection.
Finding positive live wire connection
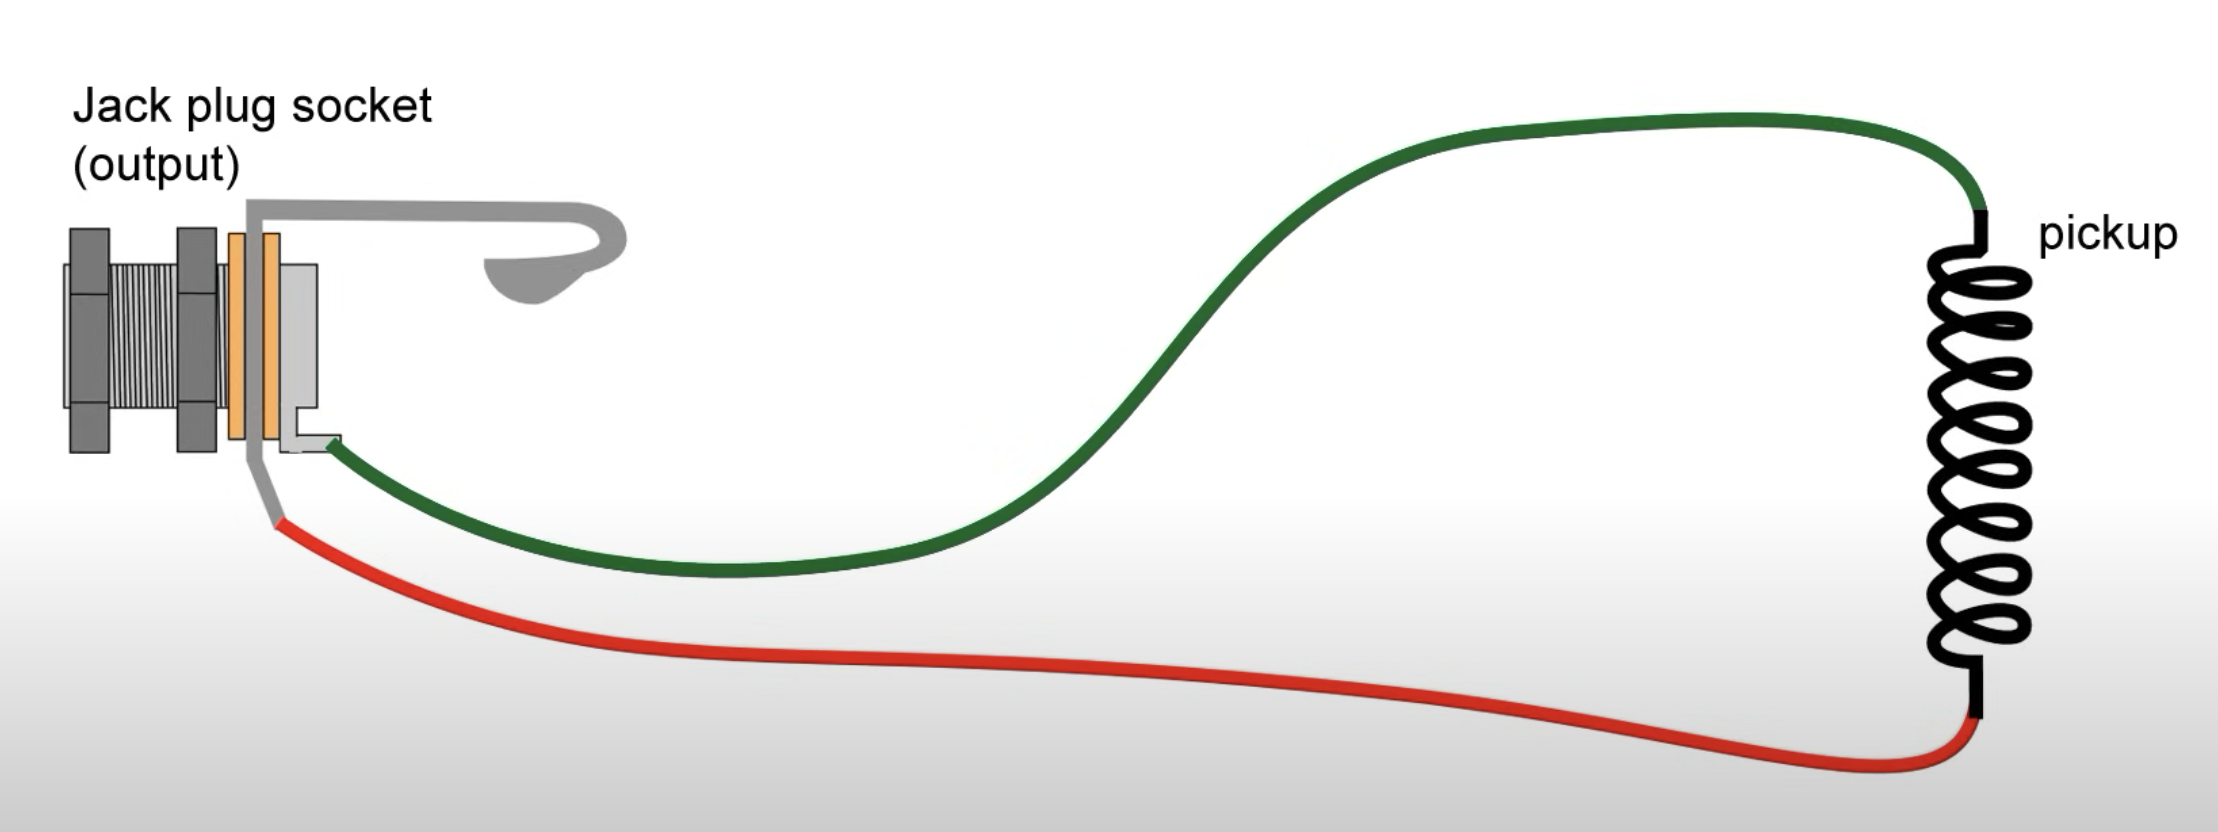
Final guitar signal is received at positive terminal of output jack. Find where yellow (or red) live wire is connected at the output jack. If you are finding it hard to find positive terminal, you can refer to this diagram.
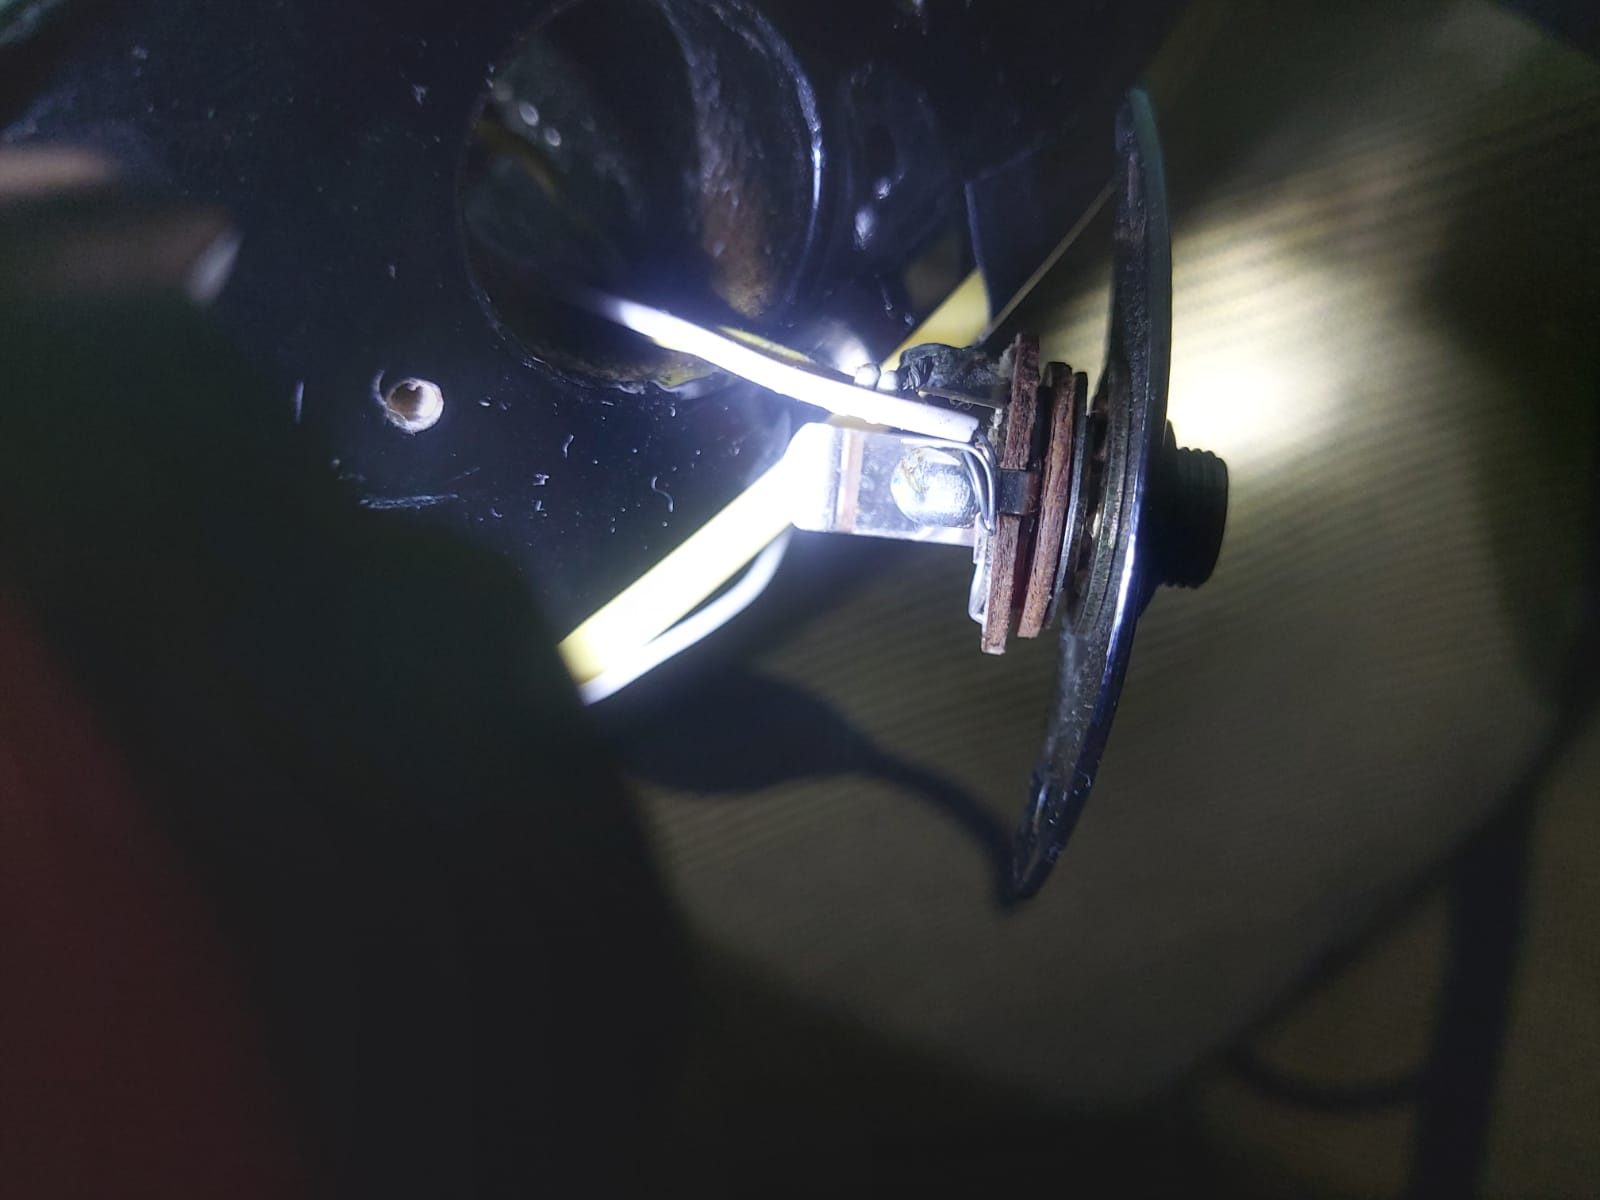
1. Connect the other terminal of your kill switch to this positive terminal by wrapping the wire around positive terminal.
2. Solder to secure connection.
3. Connect your guitar to an amplifier and check if toggle switch is working.
4. If your toggle switch is working perfectly, screw the output jack socket back into guitar.
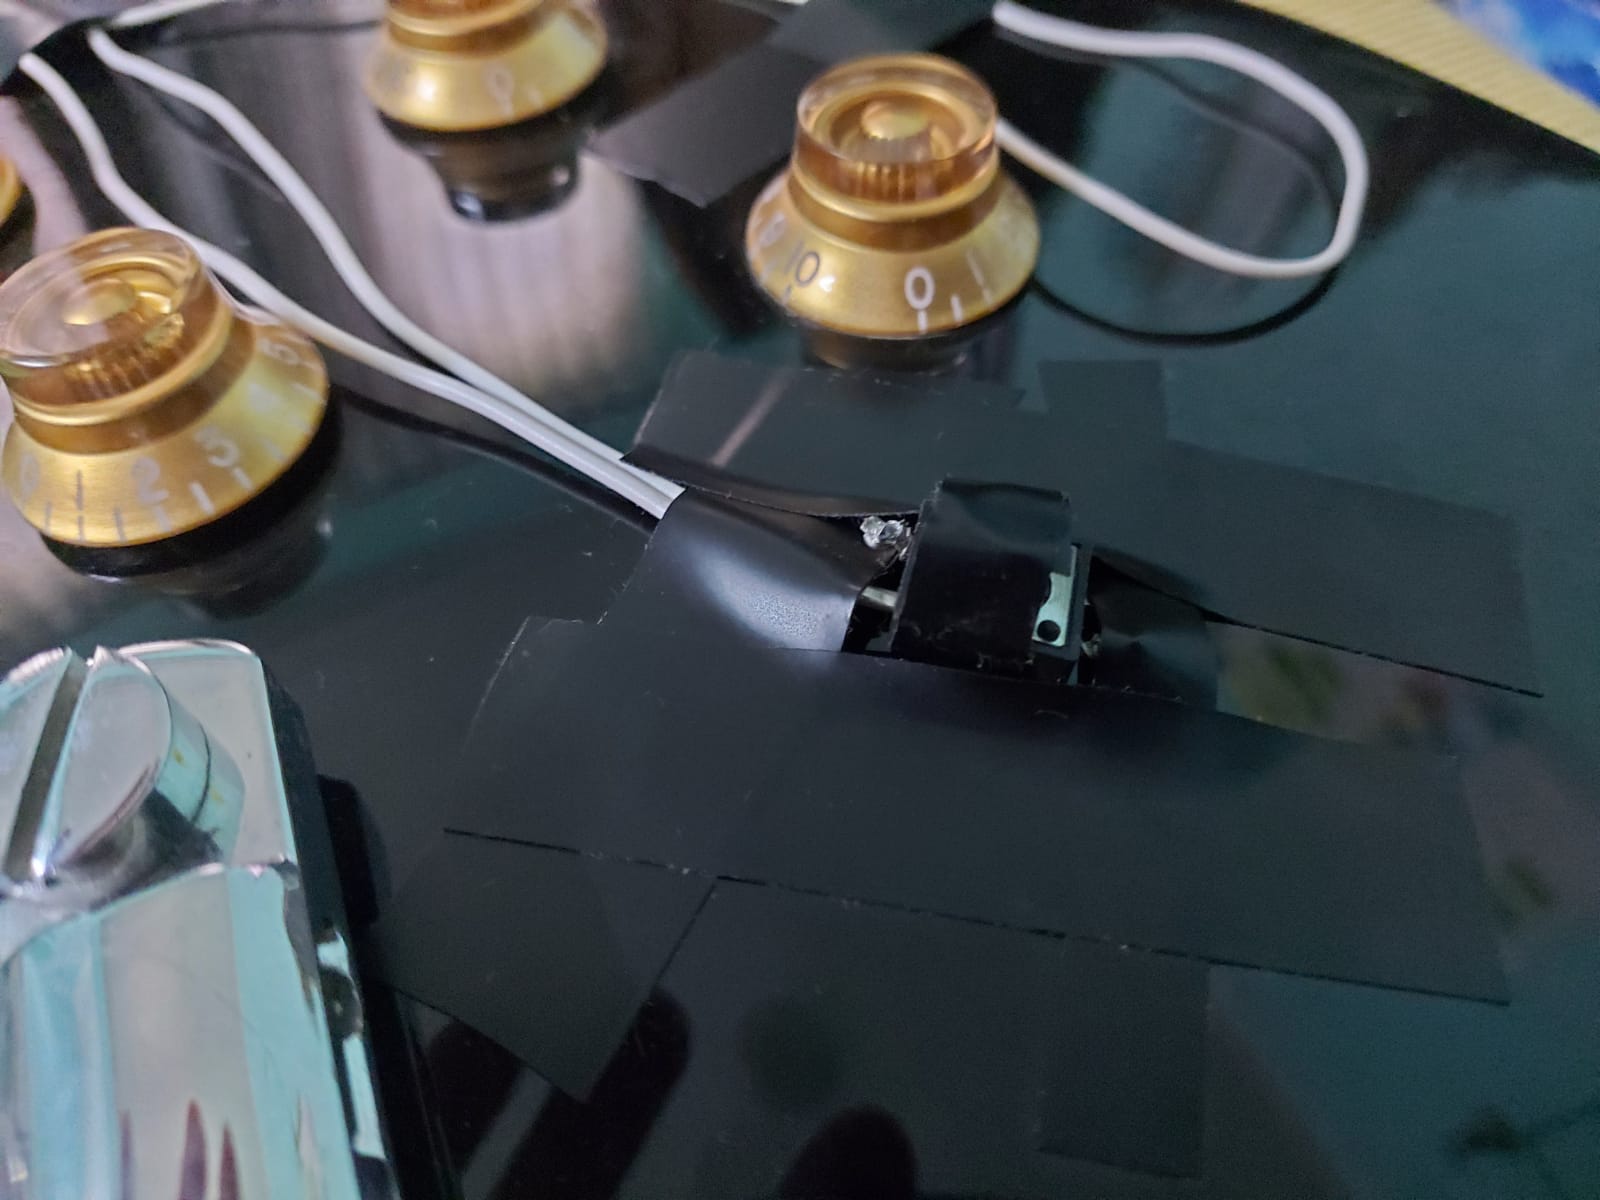
Tape the switch next to volume knob and there you go, your first guitar customization.
1. Bend switch terminals straight.
2. Place it next to volume knob and add as much tape as needed to fix the connection.
3. Tape loose wires to the body and screw back panel together.
When you try out your custom push button i.e kill switch, make sure you add Distortion and Wah pedal to your signal chain for effective sound.
You might also like
Check out few other similar posts